

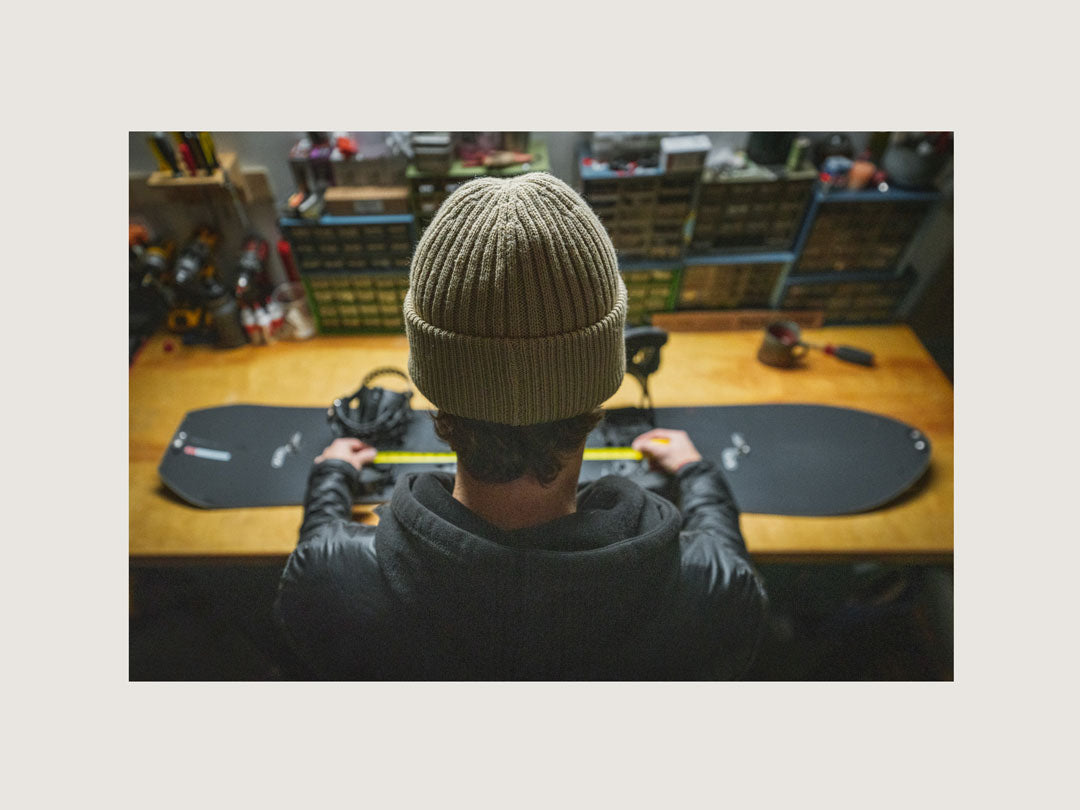
The Season Pass Splitboard Snowboard and Skins Package is a versatile and durable snowboard that is perfect for backcountry riding. Here's a step-by-step guide on how to set it up:
-
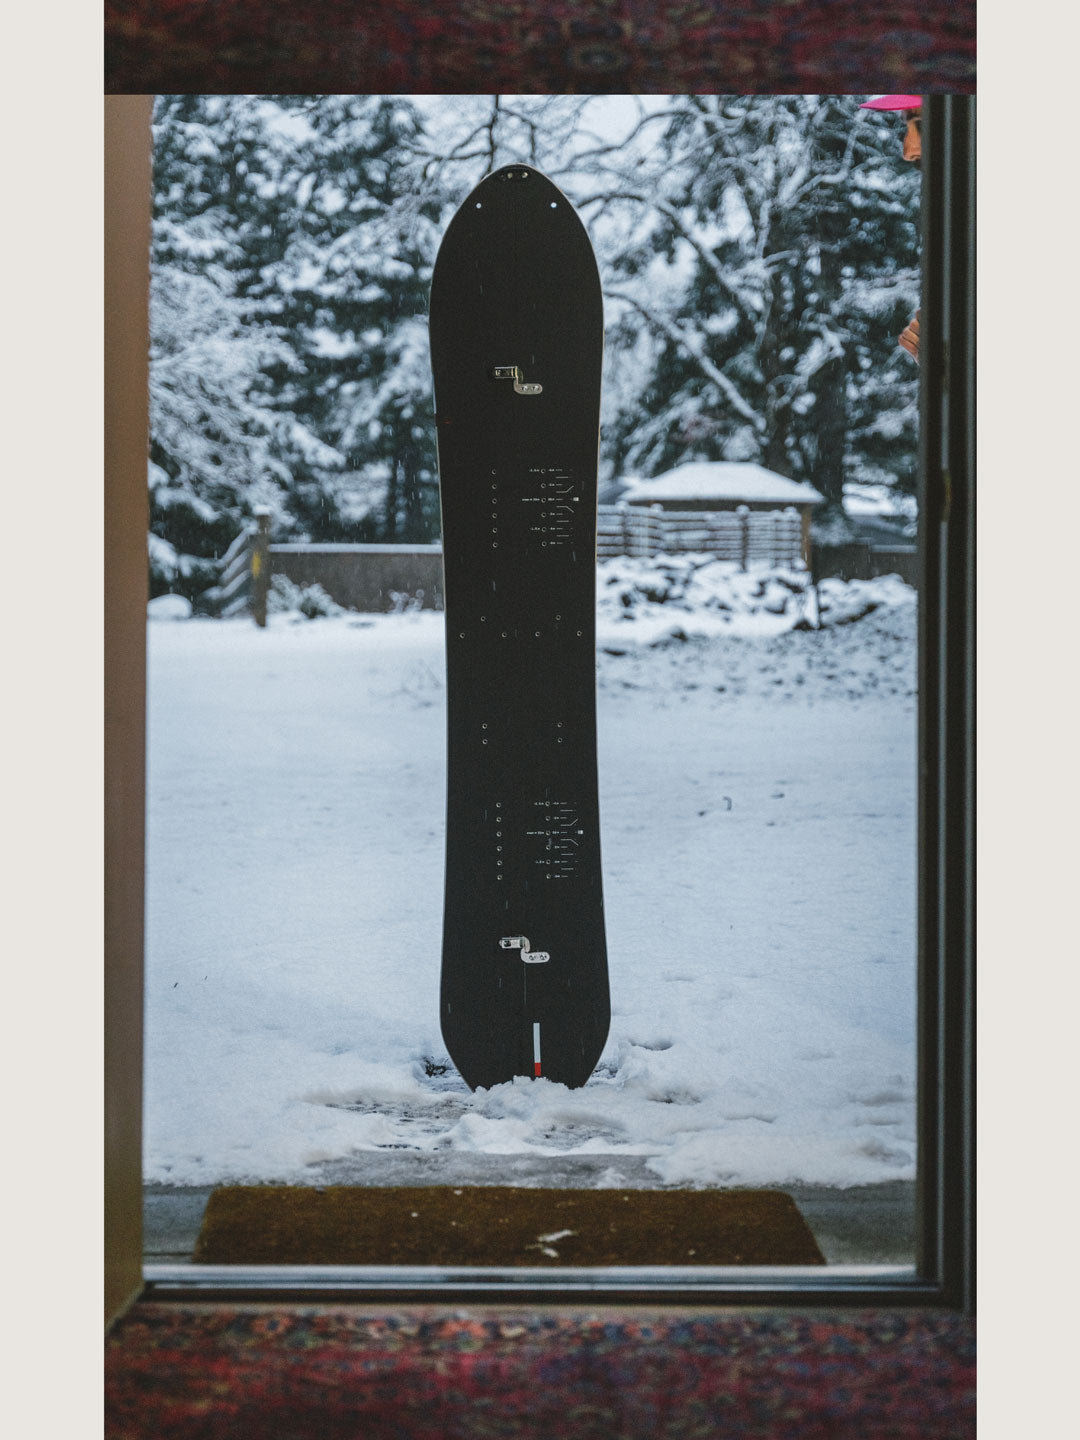
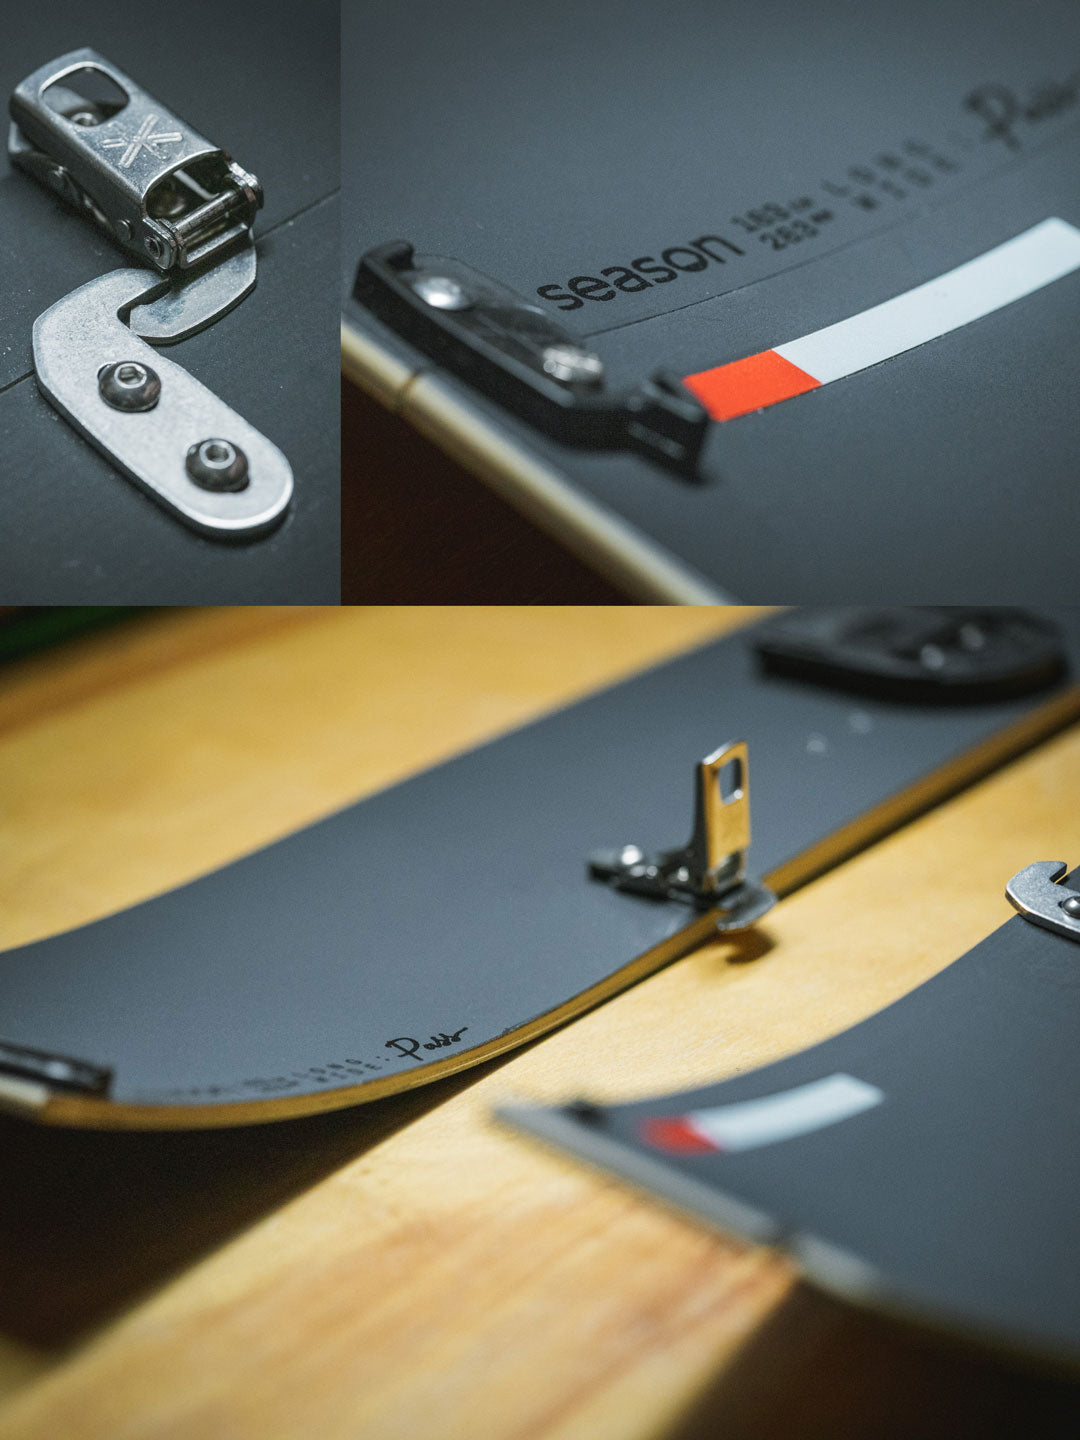
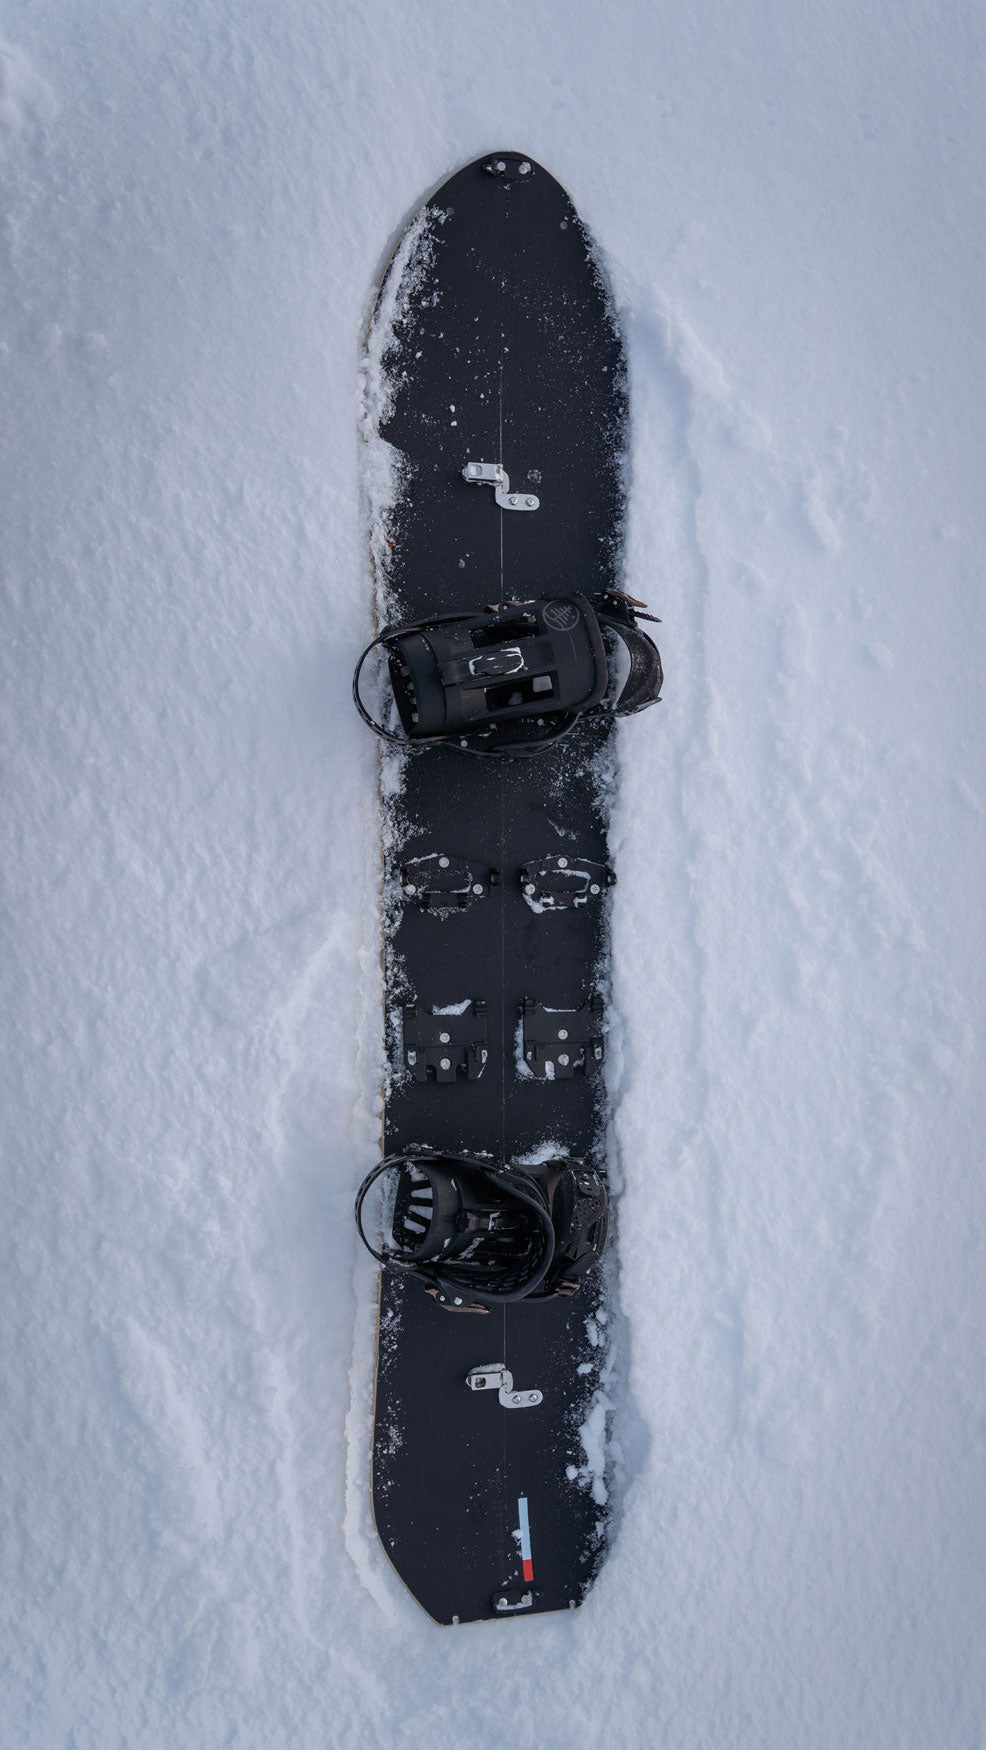
Assemble the Splitboard: The Season Splitboard Snowboard comes in two halves that need to be joined together before riding. To do this, align the pucks on each half of the board and insert the touring brackets.
-
Adjust the Touring Brackets: The touring brackets allow you to adjust the stance width and angle of the board. Make sure that the brackets are tightened securely before riding.
-
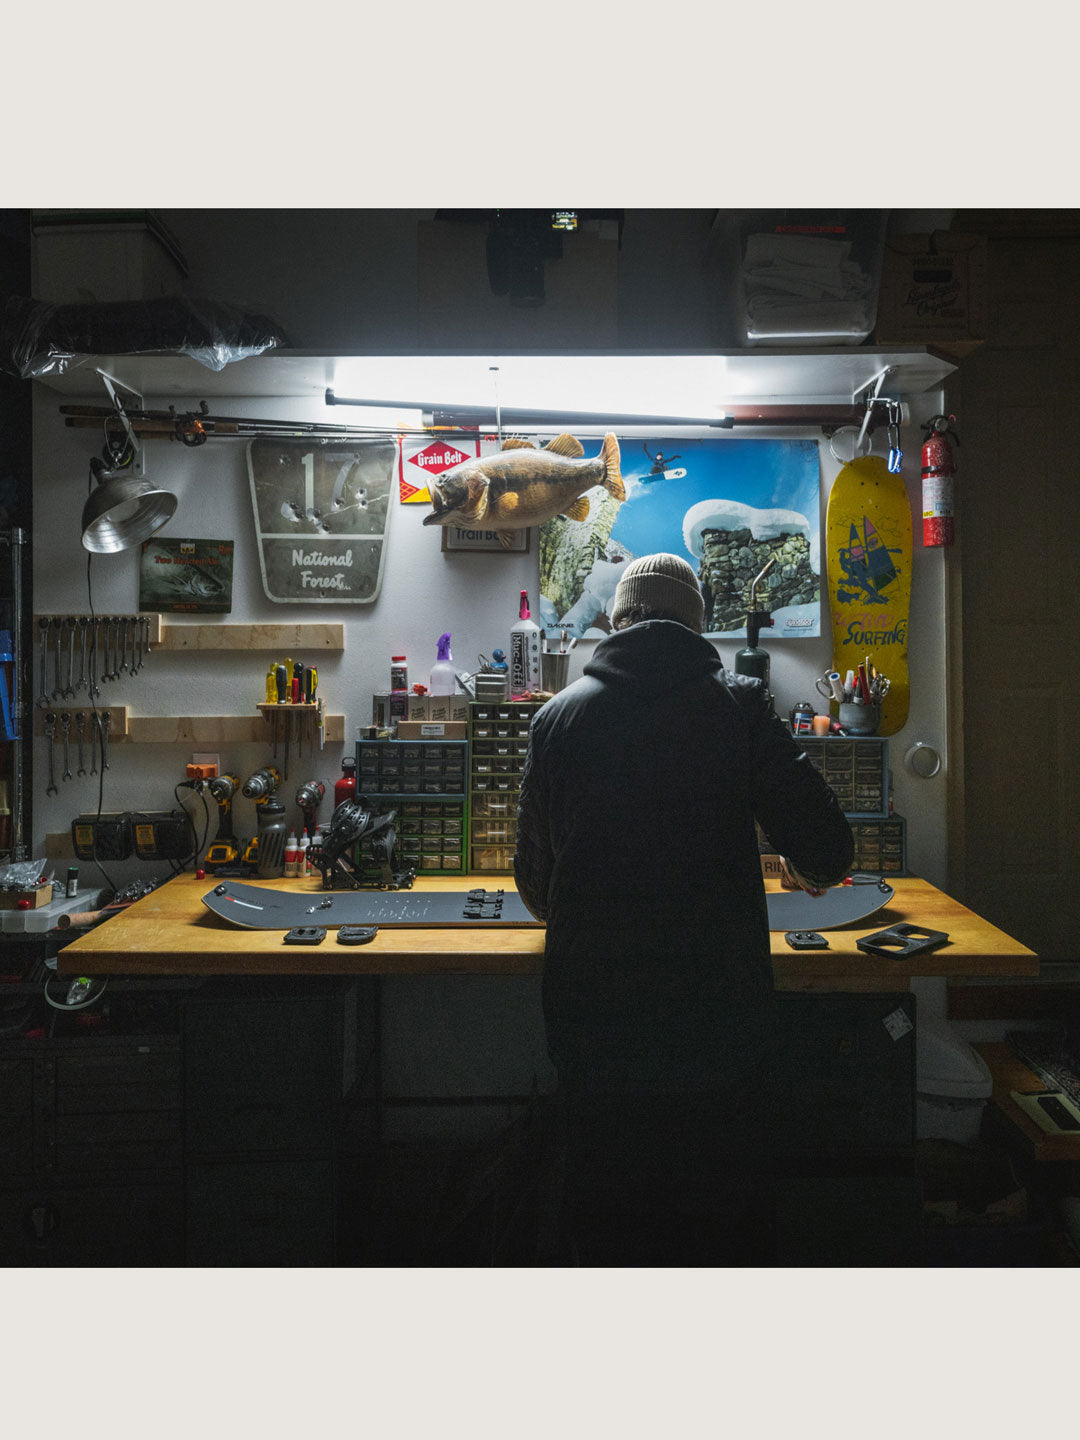
Mount the Bindings: Once the splitboard is assembled, you can mount the bindings to the board. Make sure that the bindings are centered and level on the board, and tighten the screws securely.
-
Adjust the Bindings: Adjust the bindings to your preferred angle and position. Make sure that the straps are adjusted for a comfortable and secure fit, and that the highbacks are in the correct position for your riding style.
-
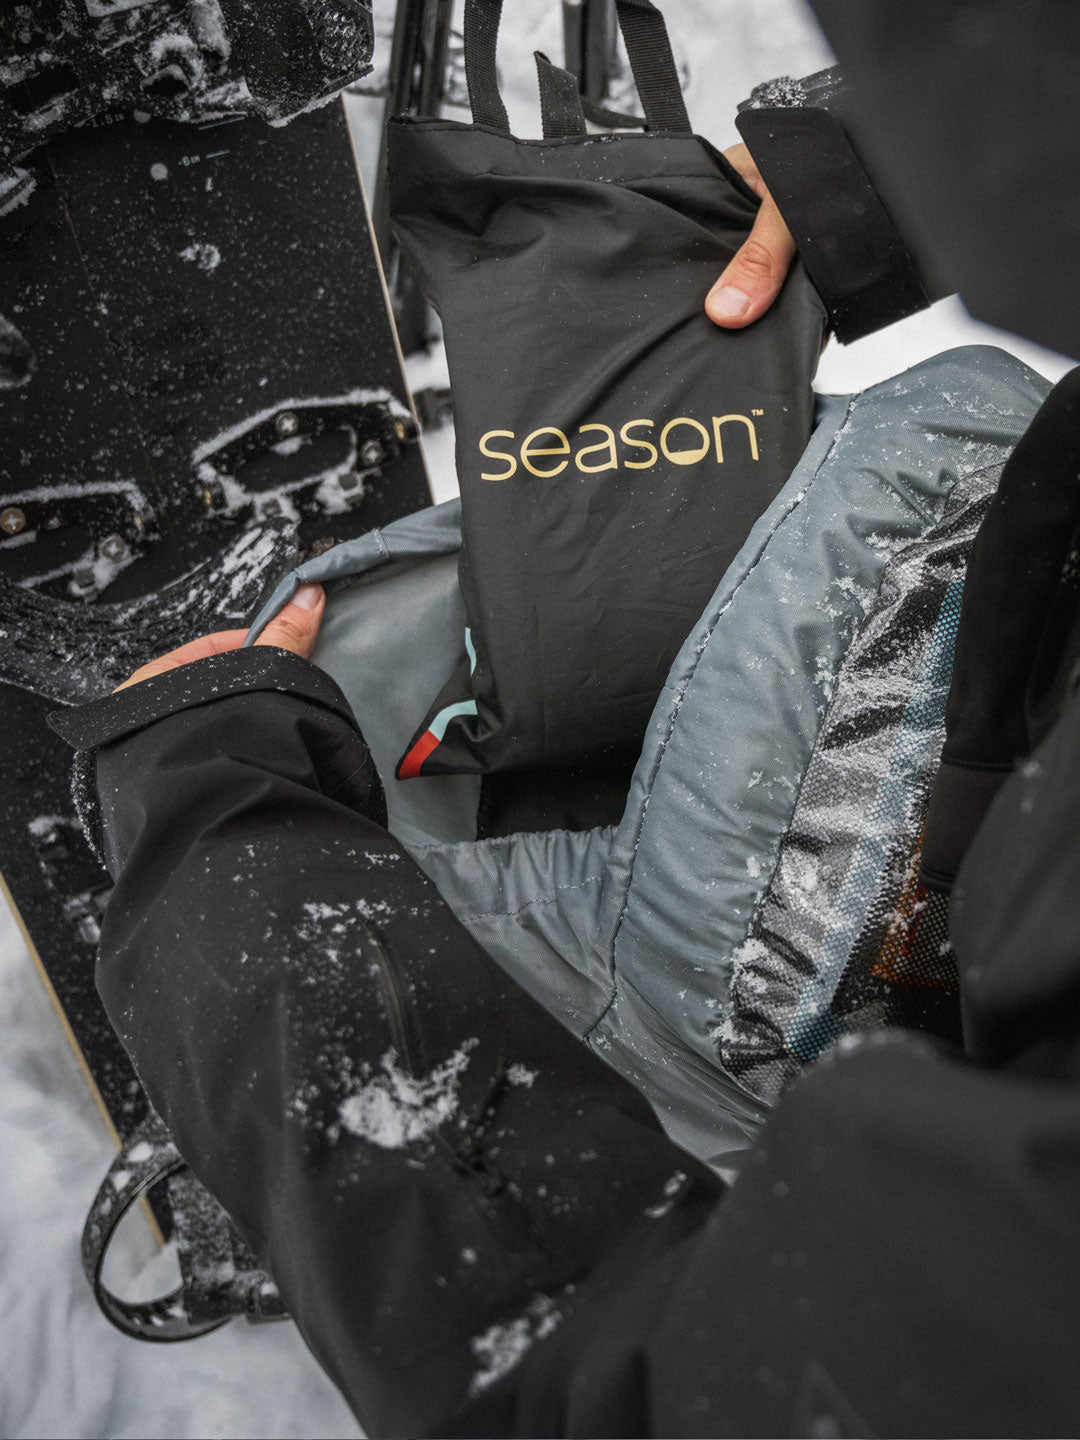
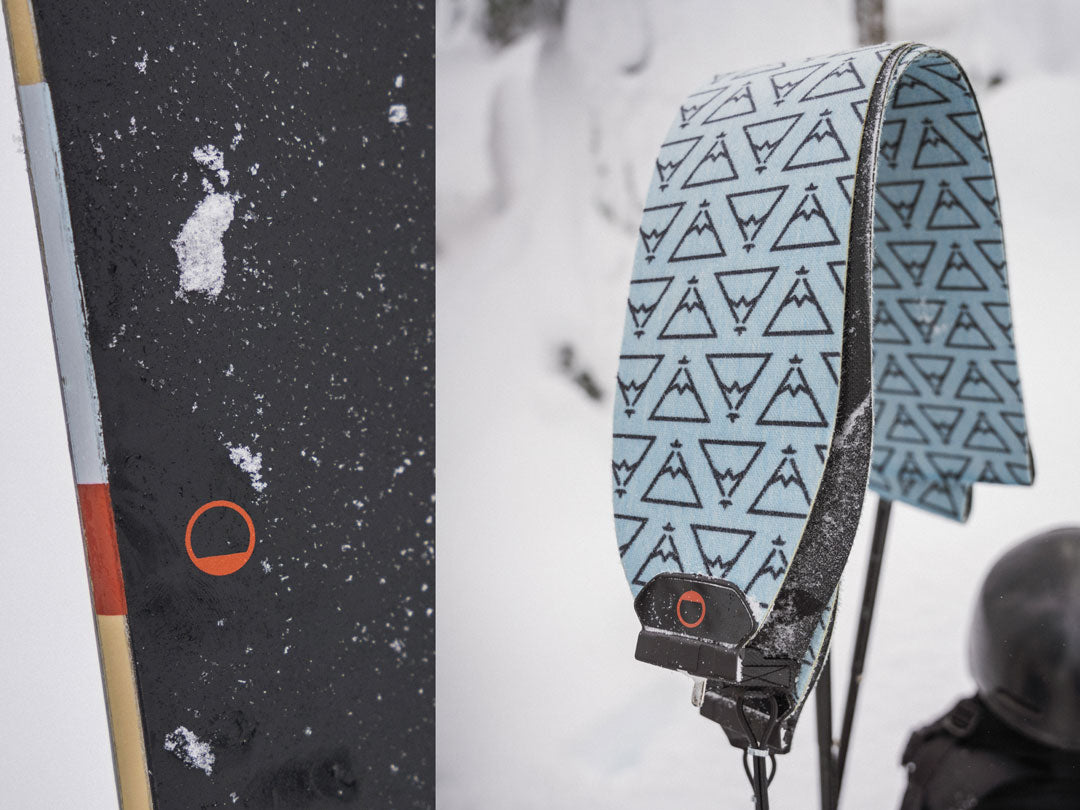
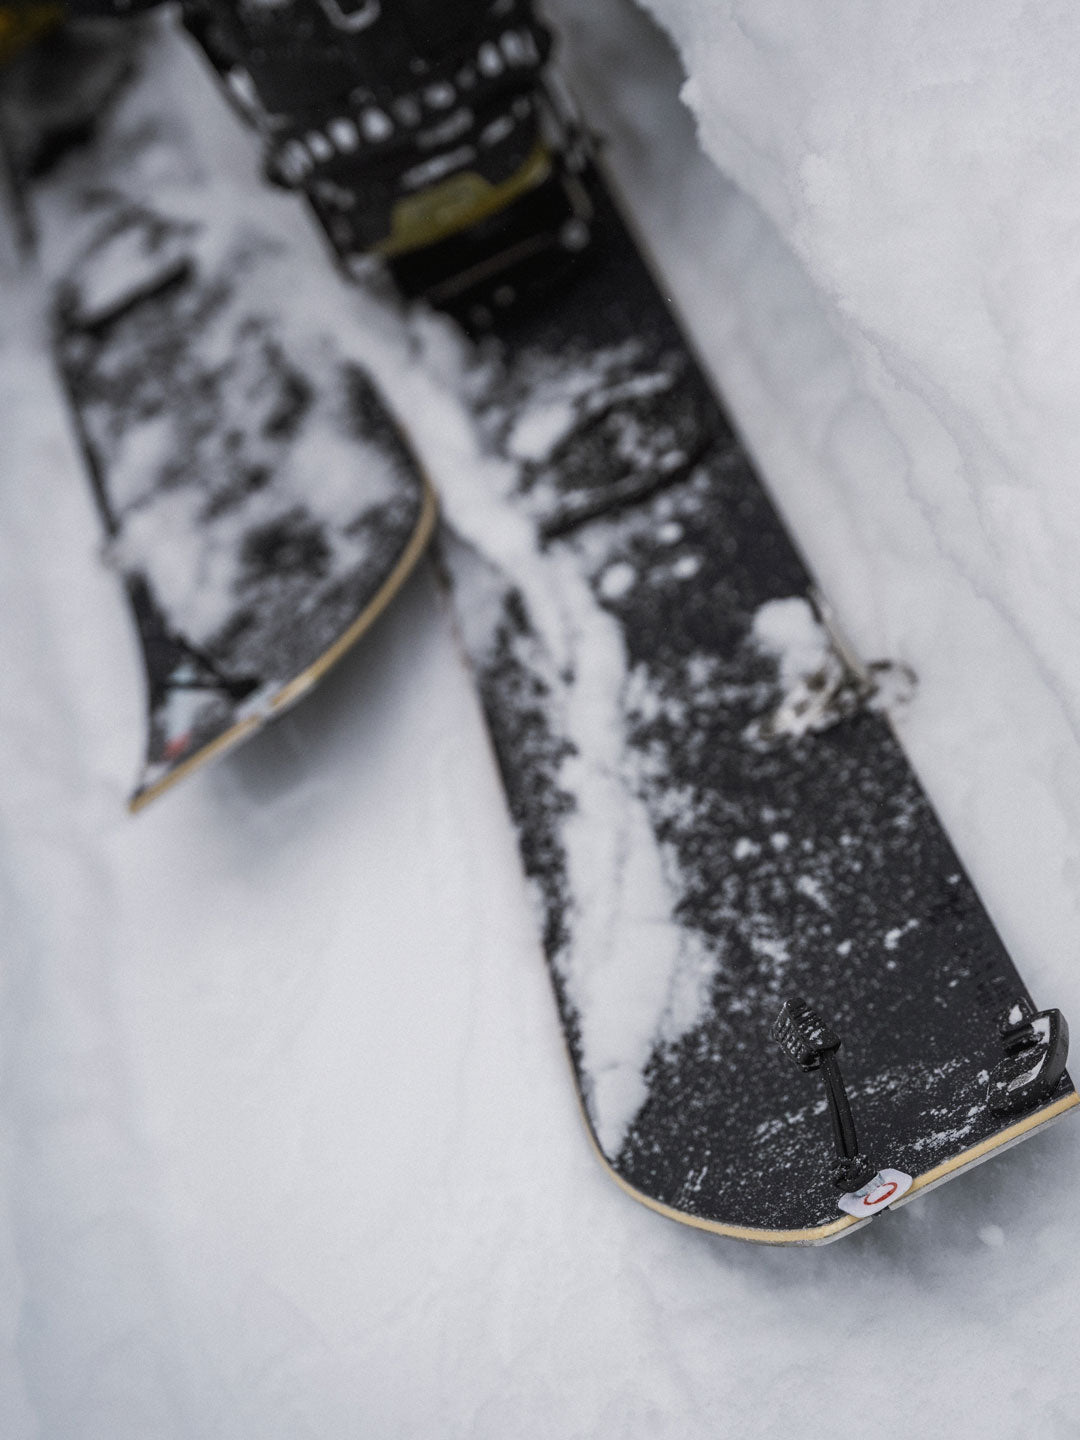
Attach the Skins: The splitboard comes with pre-cut skins that need to be attached to the base of the board before touring. Attach them to the board with the adhesive side facing down and secure the skins on the tip through the hole and on the tail on the notches.
-
Set the Touring Mode: To set the board in touring mode, remove the bindings and split the board in half. Attach the skins to the bottom of the board, and secure the halves together with the touring brackets.
-
Test the Setup: Before heading out, it's important to test the setup to make sure that everything is secure and working properly. Take a few turns and check that the board is stable and the bindings are tight.
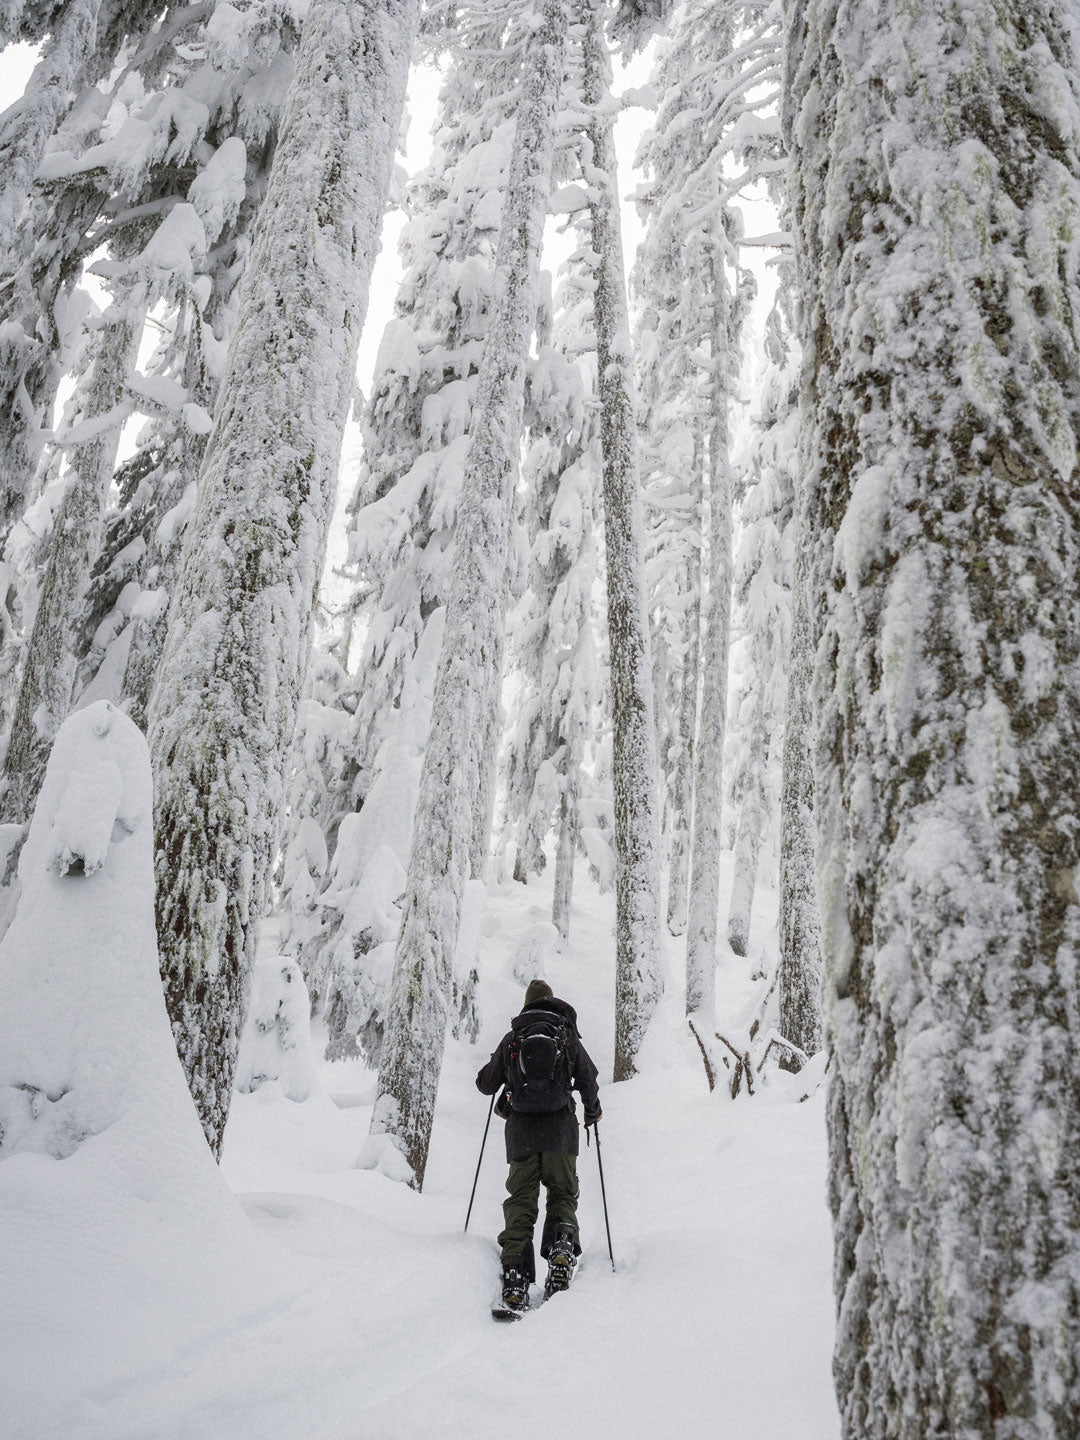
With these simple steps and the knowdlege of avalanche saftey, you'll be ready to head into the backcountry.

more content
Ver todo

